Wednesday 29 February 2012

One Day in 1460


     No, not the anniversary of the death of Albert III the Pious of Bavaria-Munich, but Leap Year - a day that happens once every four years (or 1460 days). 

Today started with a couple of hours on the ship. I'm building a model ship for the study, so whilst waiting for the postie, I spent some time on fitting the decks. Then I had a couple of hours sanding down some old furniture. Pictures of both activities will follow when the items are ready for the study.

I finally got the last strip of border up - to the left of the large window, then fitted the tie-back hook.

Curtain tied-back from the left side.

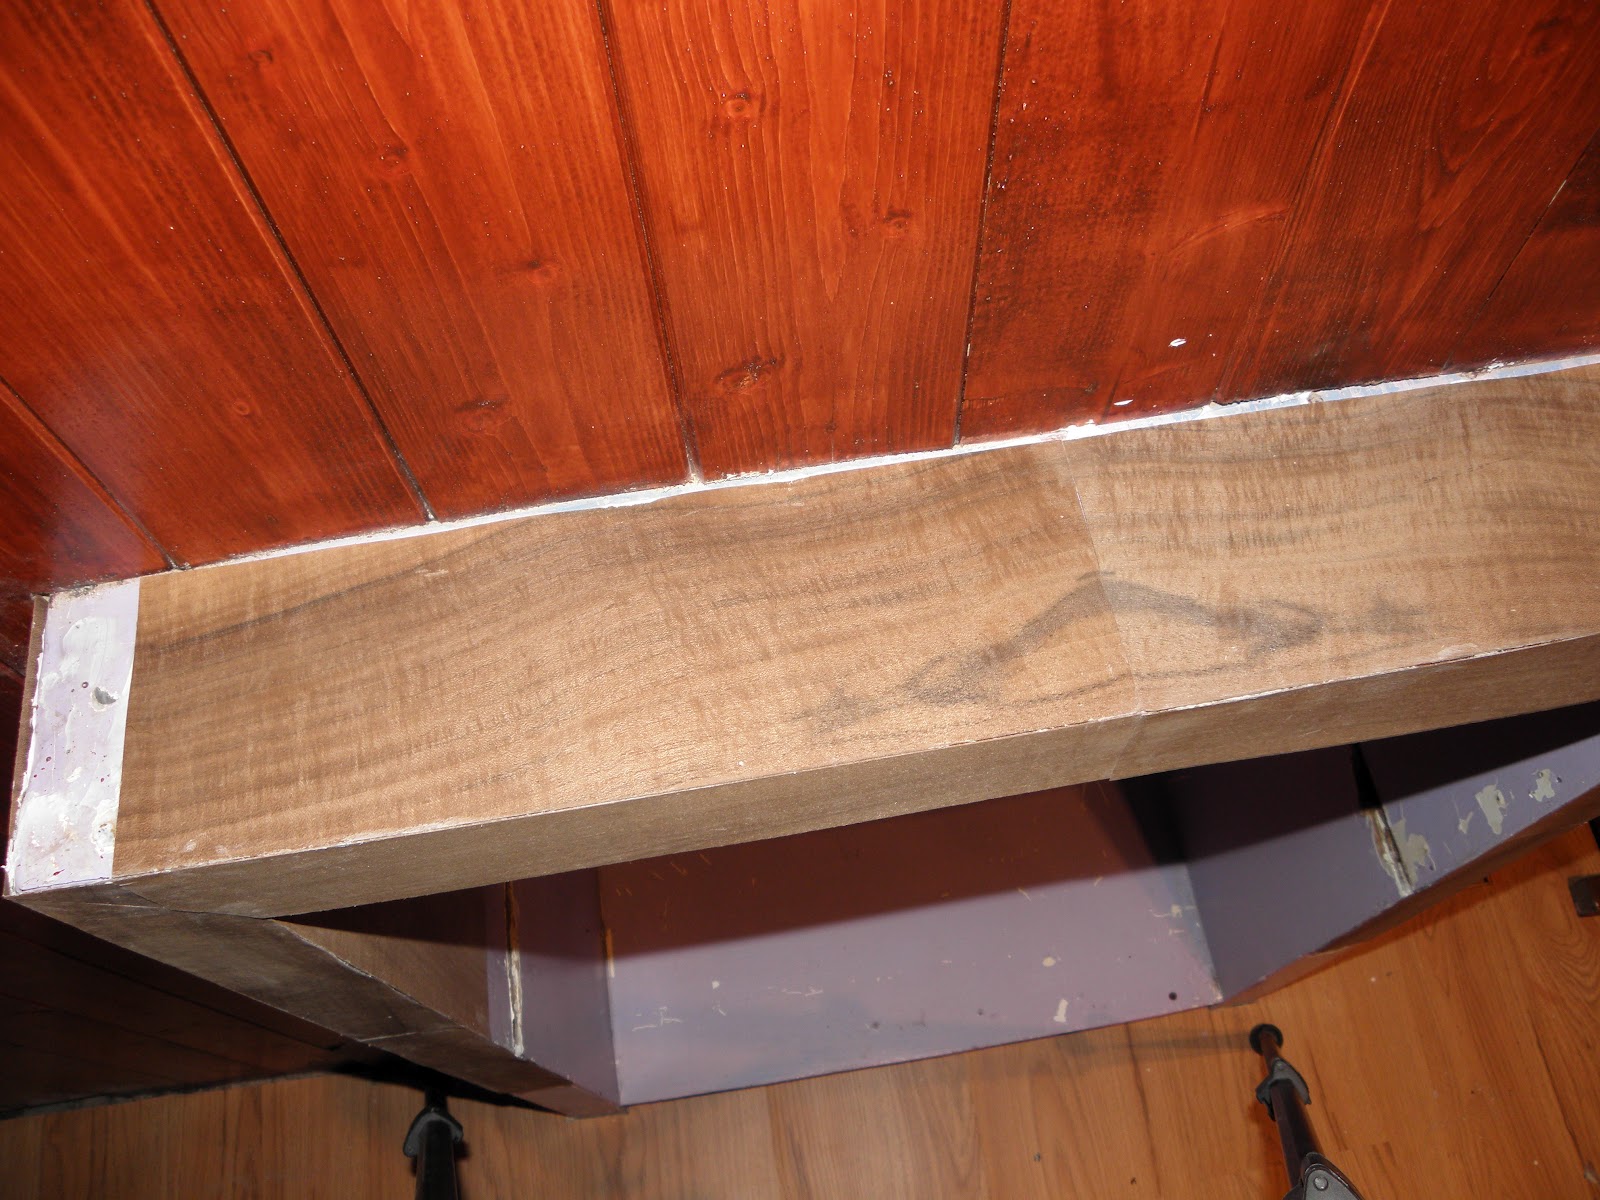
I put the mouldings in place on The Stage.


I started French polishing the fireplace - the first couple of coats of maybe twenty or thirty. A separate post will detail French polishing - but it's a long, drawn out job.


I cut the mouldings for surrounding the fireplace with a mitre cutter. Here's a picture of a mitre cutter. 


It may look like a medieval torture instrument, but once you get the hang of using it, it's the best way of cutting angles for wood. Don't forget that ninety degrees is an angle - so you can use a mitre cutter for straight cuts. Then I undercoated the mouldings with emulsion paint, ready for glossing tomorrow.

Mouldings masquerading as rhubarb...

Finally, by way of an update, here's how the leather chair looks now. Still a long way to go, but already appreciably better.


Tuesday 28 February 2012

...tnorF ot kcaB


     Oh dear! What with other things on my mind, work on the study went tnorf ot kcab today. (That's 'back to front' in case you didn't catch on...). My car had to go for the annual MOT test today, so, as any of you who have ever taken a child to the dentist will remember, I had that "please, no treatment; please, no treatment" mantra running through my mind all morning. Then there is that moment when The Specialist looks up from his clipboard, fixes you with his Specialist's eye, and says, "That's fine. Everything is OK". The weight is lifted. The sun comes out from behind the clouds. Birds sing. Bees buzz. Children laugh. A spring returns to your step, and, by way of a Thank You, you wink at a plain girl. All is well with the world.

And it was cheaper than I expected, even though I didn't need any work doing, so I treat myself. Details below. I got home, went upstairs and painted the window casing, varnished the base for the fireplace, dyed the panel for the back of the fireplace, and then thought, "Great Scott, now I am unable to do any sanding, as the dust will land on the newly treated surfaces. Oh, bother!" Back to front, do you see?

By way of compensation, I made my new friends at home. My treat was a small box of locusts. When I was a boy, I was mad on wildlife. I kept tadpoles in an enamel bath in the back yard and marvelled as they metamorphosed into frogs. I kept lizards in jars. I went to school with a caterpillar in the turn-up of my shorts, and a spider in a matchbox in my pocket. My favourite book was Geoffrey G Watson's The Junior Naturalist's Handbook - I had it on permanent loan from our local branch library, even though I had memorised the whole book. So, as my dotage approaches, I'm returning to my childhood. There are other invertebrates about to arrive, but to get the ball rolling, I lashed out £2.45 on a box of about a dozen locusts. I set their home up with a coco fibre substrate, a dish of bug food (yes, yes, I know, locusts aren't bugs - bugs have sucking mouthparts, locusts have mandibles...), and some ivy and bamboo leaves. Within ten minutes they were feeding, so I suppose they are settling in.

My new chums' new home.

A close up.
One little chap says, "Hello".

Arty soft focus close up.

Undoubtedly, I'll drone on more about creepy crawlies in due course.

Monday 27 February 2012


       Yet another day finishing off little jobs. Yet another day rummaging around in B & Q - (quiz question - For what do the letters B & Q stand? Answer at the bottom of today's post). 

So, when I had picked up my bits and pieces, I fitted the curtain hooks to the curtain (bought online for 99p - Thank you eBay), then hung the curtain. (Fun fact - pictures, curtains and game are hung, only people are hanged). The eagle-eyed amongst you will have noticed the casing is now up to the left of the window. I cut the mitre at the top, measured and cut the length, gave it a coat of emulsion as an undercoat, then nailed it to the frame. I'll paint it with gloss tomorrow.

Curtain open...

...curtain closed.

Close-up of the curtain, showing the pattern.


Then I applied the rest of the veneer to the fireplace - I'll show that tomorrow, when I've removed the clamps, after the glue is dry.


Today's costs : -

I forgot to mention on Saturday's post, the planking for the shelves came from my local Freecycle network, so didn't cost me anything. Freecycle is an excellent organisation. We all need to recycle more - be it paper, glass, plastic or appliances. Without wishing to sound like a tree-hugger, the planet's in trouble and it's our fault. If someone else can use it, pass it on for free, don't throw it away.

Curtain Rail                                             £6.99

Curtain  (£0.99 + £6.50 p&p)                  £7.49

Curtain hooks                                         £2.48

Window casing                                       £4.98

Curtain tie-backs (£0.99 + £2.75 p&p)   £3.74

Curtain tie-back hooks                           £1.00

Walnut veneer                                        £9.00

Wood Glue £1.00 x 2 =                          £2.00

Today's Total : -                                      £37.68

Running Total : - £274.12


The answer - They are the initials of the surnames of the founders, Richard Block and David Quayle.

Sunday 26 February 2012

Family Day


     Today was set aside for a family day. Lovely to see them all together.

I had a couple of hours to spare in the morning, so moved a few books upstairs and onto the shelves.

Here's a picture.


Saturday 25 February 2012

Left - on the shelf


     A number of things on today's to-do list. The first of which is to put up the curtain pole. Not a big job, if approached properly. Measure the centre point over the window, measure and mark the centre of the pole. Next, measure and mark the brackets on the wall. Drill with a masonry bit, insert rawlplugs and mount the brackets with screws. Slide one end of the pole through one of the brackets, slide the curtain rings onto the pole, and slide the pole through the other bracket. I am using just one curtain, so I want to be able to open it from either side - if you are using two curtains, put a curtain ring on either end of the pole on the outside of the brackets, which will stop the curtains from moving across the window. Then put the finials onto the ends of the pole. These were a bit loose on mine, so I have glued them (if you can see a gray tape in the picture, that's Duck Tape holding them in place until the glue sets).


Then, I screwed the tie-back hook onto the casing of the window and hung a tie-back cord onto it. I will do the other side when I get the piece of casing.


 Finally, shelving. I have decided to put the widest shelves in the alcove to the left of the chimney breast. Once more, the secret is preparation. Measure accurately, use plumb lines, set squares and spirit levels. Measure twice and cut once - remember. The supports are cut and drilled, the wall marked and drilled, rawlplugs inserted and the supports screwed into place. (A couple of tips - 1) After drilling the holes, wiggle a screw in the hole to remove any remaining plaster dust, the plug should then go in easier. 2) Tap the rawlplug into place with a rubber mallet - if you miss the plug, rubber will do less harm than metal to the wallpaper). Measure and cut the shelf to length. Put the shelf onto the supports and pin into place. From the remainder of the plank, cut another length of wood a quarter of an inch longer than the height of the shelf. Mark the centre of the shelf, and pin the second piece into place. This acts as a support for the span of each shelf (see pictures).


And last of all, I put up a hanging shelf between the windows. I will put another above it another day, and post pictures of how it is mounted then.


A Good Day. Things are most definitely taking shape now. After I have laid the final pieces of the flooring, stained and fitted the beading on The Stage and chimney breast, put beading onto the skirting boards, and fitted the casing on the left of large window, then the decorating should be finished, and I can make a start on the furnishing.

Friday 24 February 2012

Cat Scratch Fever


     One item of furniture started this whole thing off. I'd mentioned to my daughter, Charlotte, that I was looking for an old leather chair, and pretty soon afterwards she rang to say she'd found a second-hand one for sale. It was £30, plus another £10 for delivery. So I bought it. It had original cost over £200, but had been badly scratched by the owner's cat. I thought it sounded like a good restoration project. Here are pictures of the chair in its scratched state.


The first step is to clean up the worst of the scratches. This is a time-consuming procedure, using sharp scissors, scalpel blades, and razor blades to cut back the plucked threads of leather. In extreme cases, an electric hair trimmer can be used to shave the leather back. Then the sanding can begin. Use a medium grade glasspaper to begin with, followed by a finer grade paper. I've used an electric engraving tool, with an abrasive wheel attachment, too. Sand the nibs off the leather, but don't try to level the holes - you will fill these later. The idea is to remove any leather fibres standing proud of the surface.


Next, wipe the surface clean with alcohol - cigarette lighter fuel will also do the job. Leave it for about ten minutes for the alcohol to evaporate. Special leather filler is available for sale, but unless you're going for a professional look, save your money. I use dark brown shoe polish instead. Make a small pad with a clean cotton rag, load it with a little polish, and work it into the leather with small, circular motions. The polish will fill the holes as you work away. Leave the polish to dry, buff with a clean cloth, and repeat over and over again. Think about how you would repair scuffed shoes - you have to repeat the application of polish until the blemish disappears. As you progress, take some warm water, dampen your clean pad, then put some polish onto the pad, and continue with the circular rubbing. Don't be tempted to spit on the cloth - it leaves a streaky surface - always use clean, warm water. The principle is similar to the military practice of 'bulling' your boots. Layers of polish are built up, and buffed back, until a high shine is achieved.

Remember, leather is a 'living' thing. It needs to breathe, and it needs to be fed. Always use wax and oil based products on leather. Lacquers and varnishes suffocate leather. Waxes and oils feed it.

Thursday 23 February 2012

Rugs


     Logged into my Gmail this morning, and found two messages about rugs I'd won on eBay. So then I made arrangements to pick them up this afternoon. This means I only had a couple of hours painting today - redid the skirtings and the large window, another coat on the beadings, and so on. 

I spent the afternoon in Bolton, collecting rugs - which are excellent, as you will see later.

So, a very short post today, and no pictures.

Fun Fact of the Day : - If you fall off a ladder when you are painting with red paint, it is very easy to confuse the paint with blood. This can be very unsettling when it first occurs.

Wednesday 22 February 2012

A Veneer of Respectability


     A slightly later start today, as I had other stuff to do first. I started by washing the skirting boards with sugar soap. Sugar soap is great for cutting through grime, grease and grot, but do remember it is caustic, so always wear gloves when using it, and mop up any spills immediately. Rinse with clear, cold water afterwards, and leave to dry. Then the first coat of gloss was applied. I also painted the large window.

The fireplace is a disgrace. It is made from plasterboard, hardboard and scraps of waste wood. The previous DIYer had stayed loyal to his standards of craftsmanship here. Just look at this : -


I've decided to cover this eyesore with veneer. I bought some sheets of walnut veneer on the internet. Walnut veneer is a by-product of the nut industry. When a walnut tree has passed its best, and is not viable any more, it is felled and the timber is used for furniture making. Thin layers of wood can be cut from the tree, which are used to cover baser wooden items. Modern machine cut veneers are incredibly thin - the thickness of a postcard, and are fragile, so handle with care. This is the veneer : -


The tools for veneering are seen here. From left to right, these are : -


  •  Weights - for pressing the veneer onto the surfaces
  • Wallpaper stripping knife - for applying adhesive
  • Wood Adhesive - for gluing the veneer to the surfaces
  • Scalpel - for cutting the veneer
  • Pencil - for marking 
  • Steel rule - for measuring and cutting
  • Rags - for wiping excess adhesive from the job
  • Craft Knife - for any other cutting
  • Veneer - thin sheets of wood 
 As has been said before - measure twice and cut once. Take your time and veneering is not difficult, it just needs a little patience. I use a surgical scalpel to cut the veneer, I find it gives a cleaner cut than a craft knife. If the sheets of veneer have been cut consecutively, it is possible to match the pattern of the grain in the wood. This can be seen here, on top of the fireplace, where two sheets meet in the middle : - 


 And here is the front, as it stands at present. I will need some more veneer, as I've decided to line the interior of the fireplace too.


When the glue is dry, I will French polish the veneer. But that will have to wait until it's all covered.


Tuesday 21 February 2012

Across the Border


     Completed putting up the borders today. It took longer than I anticipated, due largely to the fiddly cutting of mitres. Fiddly, but worth it I think. Rather than just overlapping the border, I've cut each one at 45 degrees (usually), which gives a much neater finish. I hadn't planned on going over the windows with border, but after having done the doorway, I thought it might be as well to do the windows too. And I think it works.


I've had to leave the left side of the window, as I need to replace the wooden casing first


Today's other job was replacing the light switches and electric socket. Not a big job, or so I thought. But, like most things in this house, at least one previous owner had done their own 'improvements'. Some folk shouldn't be let out on their own. We should sew up their pockets and keep them away from the spoons. Heaven only knows what whoever did the electrics was thinking, but somewhere along the line it had all got too much for them, and chaos followed. What I thought was a twenty minute job took two hours. Still, it's done now.


The switches and the socket were bought online.

Today's costs : -

Two brass light switches @ £1.99                                            £3.98
plus £1.89 p&p                                                                         £1.89

Brass socket £4.99 (free p&p)                                                 £4.99

Today's total                                                                             £10.86


Running total  = £236.44

Monday 20 February 2012

A Border Post


     Today began with a trip to Ovalworld, Blackburn, for another roll of paper, some more borders and a tub of border adhesive. Wouldn't you know it - I bought five rolls of border last week for a pound each, this week the same borders are on Manager's Special price at twenty pence each! So I got three more. The patterned paper is Graham and Brown Superfresco Colours range, pattern Splendor Red/Cream at £10.99 per roll, the borders are Arthouse Paparazzi, pattern Bellagio red.

I came home, hung the paper, put up a couple of lengths of the border, and spent the rest of the day filling in holes, sanding corners and varnishing edging strips. I also planed a quarter of an inch off the bottom of the door, then rehung it. I can't put the rest of the border up until the paper is dry. I've also ordered some walnut veneer to cover the fireplace.

Here's how things look now - and yet again, the flash on the camera is creating glare where none exists. 

One without camera flash...

One with camera flash

One without flash

...and another with...

Same shot without flash - see the difference?

Today's costs : -

Patterned Wallpaper 2 rolls @ £10.99 each                                         £21.98

Five rolls border @  £1.00                                                                    £ 5.00

Three rolls border @ 20p                                                                           .60

One tub border paste                                                                           £ 2.50

Total                                                                                                     £30.08


Running total = £225.58

Sunday 19 February 2012

Painting the wall red.


     Another early start (...ish, for a Sunday), and the wallpaper is dry and ready for a first coat of paint. The paint goes on easily, and things are cracking along swimmingly. While it dries, I tinker about with other things, and when it is dry, back up the ladder I go. Coat two covers the blotchy bits nicely and I feel like I'm getting somewhere. More tinkering follows, as more paint dries. Then, out comes the patterned paper and up on the wall it goes. 

The patterned paper goes further than I had expected, although I  will need to get a second roll tomorrow. I believe you will now be able to see the direction I'm going in from these photos. Once again, the flash isn't doing me any favours.


 I've put one length of border up here, to give some idea of how the whole will look.


It's all starting to take shape now.

Costs : -

Three rolls of 20 metre 2000 Grade Lining paper @ £7.99 per roll  =  £23.97
One can expanding foam                                                                  =  £ 3.99
Two cans of 2.5 litre Johnson's Rich Red Silk finish Emulsion paint @ £7.99 per can
                                                                                                         =  £15.98
Two cans of 750 ml B & Q Colours range Classic Red quick drying gloss paint @ £11.98 per can
                                                                                                         = £23.96
One packet Wallpaper paste                                                            = £  1.00


Today's total                                                                                           £68.90

Running Total : - £195.50


Saturday 18 February 2012

The Walling Wail.


     Today was a walling day. This means I was not flooring. Hurray. I don't mind walling. I finished putting up all of the remaining lining paper. I gave the already painted walls their second coat. I thought the stain on The Stage was still a little pale, so that got another coat of varnish. I moved some of the furniture in (although you won't see it until the decorating is finished), because downstairs was starting to look like Lovejoy's lock-up. I went to Cost Right Cash and Carry in Blackburn for some bits and bobs (take that B & Q - you're not the only game in town, you know). No photos today. The wallpaper is wrinkly, the paint is wet. Photos wouldn't look right. 

If you want something to look at, look at this : -


This is my tea. It's a roast dinner - roast chicken, roast potatoes, boiled new potatoes, Yorkshire pudding, peas, green beans, carrots and gravy.

Friday 17 February 2012

For Crying Out Loud...


     Today started well - up and out early, to Clayton-le-Moors to pick up eBay item, which you should see soon, it's a cracker. Then to Accrington for some shopping, Oswaldtwistle for the charity shops, and home. Straight back out again to pick up a parcel from the Royal Mail that wouldn't fit through the letterbox, which was an unexpected delay. Then, screwing my courage to the sticking place, it's upstairs to face the flooring. I walked into the room and immediately, there's something wrong. As I walked in, the flooring flexed beneath my feet. Oh no. Onto my hands and knees, feeling around. There's a problem right in the middle of the room. Common sense says that there is something under the flooring. Right in the middle of the room. Under the flooring. Words starting with 'F' and 'B' shoot across my mind. But there is no way around it - the flooring will have to come up.

And here, boys and girls, is the offending article, shown with a ruler for size comparison.


That little blighter has cost me a day. Heaven knows how it slipped through - I swept the floor with a long, soft brush AND a dustpan and brush as I went. But, like the Princess and the Pea, I could feel it was there, and I knew it would keep me awake. So up came the boards, out came that little rascal, and down went the boards again. God, I hate flooring.

I write this, with burning knees and ankles, and throbbing back. I thought this was all going to be behind me. This needs a desperate remedy. Thus, tonight, I will be mostly drinking Crabbies Ginger Beer and Theakston's Old Peculier, I will be mostly eating Croque-monsieur and I will be mostly watching Amelie on DVD. Ah, Audrey Tautou ...


Thursday 16 February 2012

Floored.


     God, I hate flooring - even more than I ever did. I'm running on Lucozade and Ibuprofen at the moment. Laminate flooring is cursed - how can an inanimate product have a mind of its own? One end fits in, the other end pops out, the other end goes in and the first end pops out. One piece goes in immediately, the next piece takes twenty minutes to go in. 

Luckily, the chimney breast and the flooring matched exactly - so, no nasty cutting. For once.


 Here are the tools you need when laying laminate flooring.


 A Workmate is invaluable. Workmates are brilliant, so useful for any DIYer. Save up your pennies and buy one - you will never regret it. With a little imagination, there are so many things you can do with it. Every home should have one.


From left to right : -
  •  Rubber headed mallet -  hit your flooring without damaging it.
  • Claw hammer - for heavier hitting.
  • Pad saw - cutting flooring to length. I've tried electric jig saws but no matter how fine a blade you use, electric saws seem to chip the edges of laminates.
  • Stepped tapping block - used to tap each piece into place, ensuring a snug, tight joint.
  • Draw hook - used to move lengths nearer or further away from walls. May damage the edge, so use with care.
  • Set square and pencil - use to mark lengths, giving true, square line to cut to.
  • Pincers - for removing old pins, tacks, etc from the floor, also can be used to nibble pieces of the laminate away, for nasty little corners and so on.
 Never, ever be tempted to pin, nail or glue laminates in place. Moisture and temperature cause expansion and shrinkage, so the whole matrix needs to be able to move. Leave a gap of between 5 and 10 millimetres all around the room to allow for this. You can cover the gap with quarter-round dowelling, pinned or glued to the skirting boards - NOT the flooring.


How things look now - I need to cut the final pieces along the length of each board to fit the space. But not tonight - I've had enough. Luckily, tomorrow is time up for the Warmaline paste drying, so I can get back to papering. I don't mind papering. Papering is not laying flooring. God, I hate flooring.

To cheer myself up, I am now going to drink a bottle of Shepherd Neame Amber Ale, smoke some French tobacco, and watch an Horizon documentary about black holes in space on BBC4.

I've used four packs of Oak Plank Effect Laminate Flooring from B & Q, which was on offer for £12 per pack.

Costs : -

Laminate flooring 
Four packs at £12. 00                                         £48.00

Running total - £126.60